Modified Tanaka Contours

Unlike regular Tanaka contours, which are azimuthally oriented and have north light and south dark wide sides (to create the hillshade illusion), these contours are oriented to the specified coordinates (near the center of the map in my case) and have one wide side. Now we have a faint illusion that we are "hanging" over a certain point on the map.
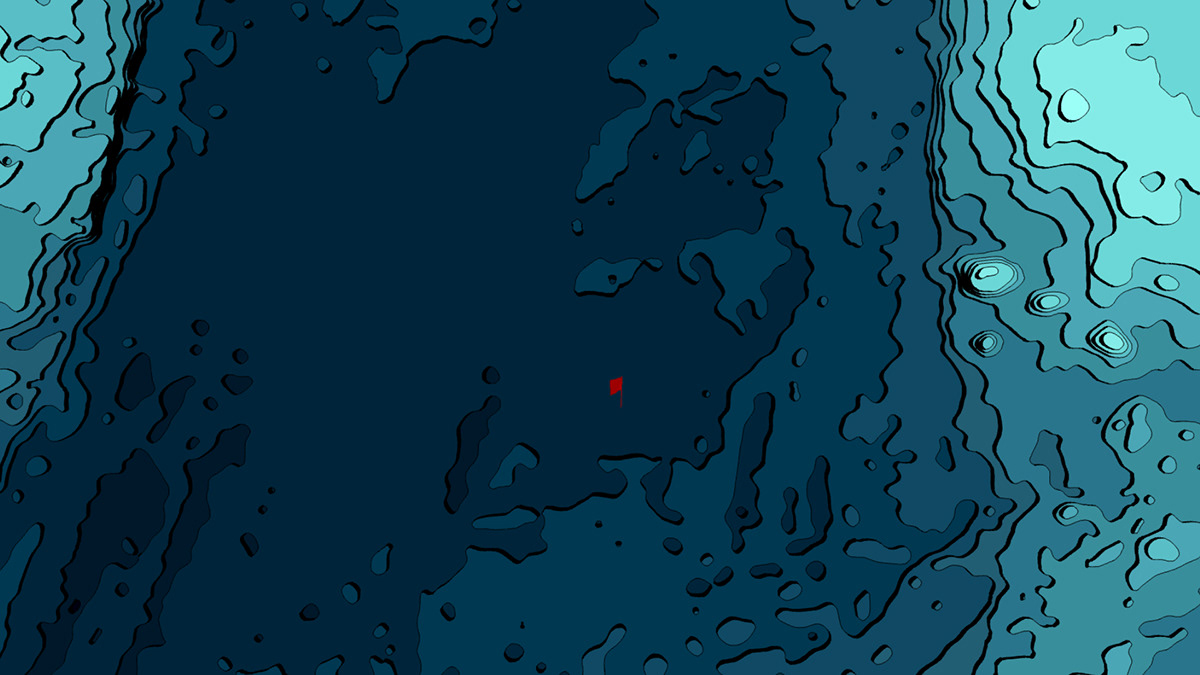
The width of the lines affects the perception of depth.


How to make it with ArcGIS pro:
1. Find and load your DEM
2. Aggregate it if the resolution too high (optional)
3. Use Focal Statistics tool for smoothness (optional)
4. Create Contours
5. Split Line at Vertices
6. Add Azimuth, Direction, and Width fields (all with the type float).
Optionally Color, Distance
Optionally Color, Distance
7. Open up the field calculator on your split contours and call the following code block with get_azimuth(!Shape!) on the Azimuth field:
get_azimuth(!Shape!):
from math import atan2, pi
def get_azimuth(shape):
x1 = shape.firstpoint.x
y1 = shape.firstpoint.y
x2 = shape.lastpoint.x
y2 = shape.lastpoint.y
dx = x1 - x2
dy = y1 - y2
azimuth = (atan2(dx, dy) * 180 / pi)
if azimuth < 0:
azimuth += 360
return azimuth
8. Repeat with Direction and Width fields:
get_direction(!Shape!):
from math import atan2, pi
def get_direction(shape):
x1 = shape.firstpoint.x
y1 = shape.firstpoint.y
#Coordinates of the "point of view" (map center for example):
x2 = 40.3
y2 = -35.3
dx = x1 - x2
dy = y1 - y2
direction = (atan2(dx, dy) * 180 / pi) if direction < 0:
direction += 360
return direction
get_width(!Azimuth!, !Direction!):
def get_width(azimuth, direction):
azimuth -= direction
if azimuth < 0:
azimuth += 360
if azimuth > 180:
azimuth = 90
else:
azimuth = abs(azimuth - 90)
return azimuth
9. Play with symbology and voila:


